

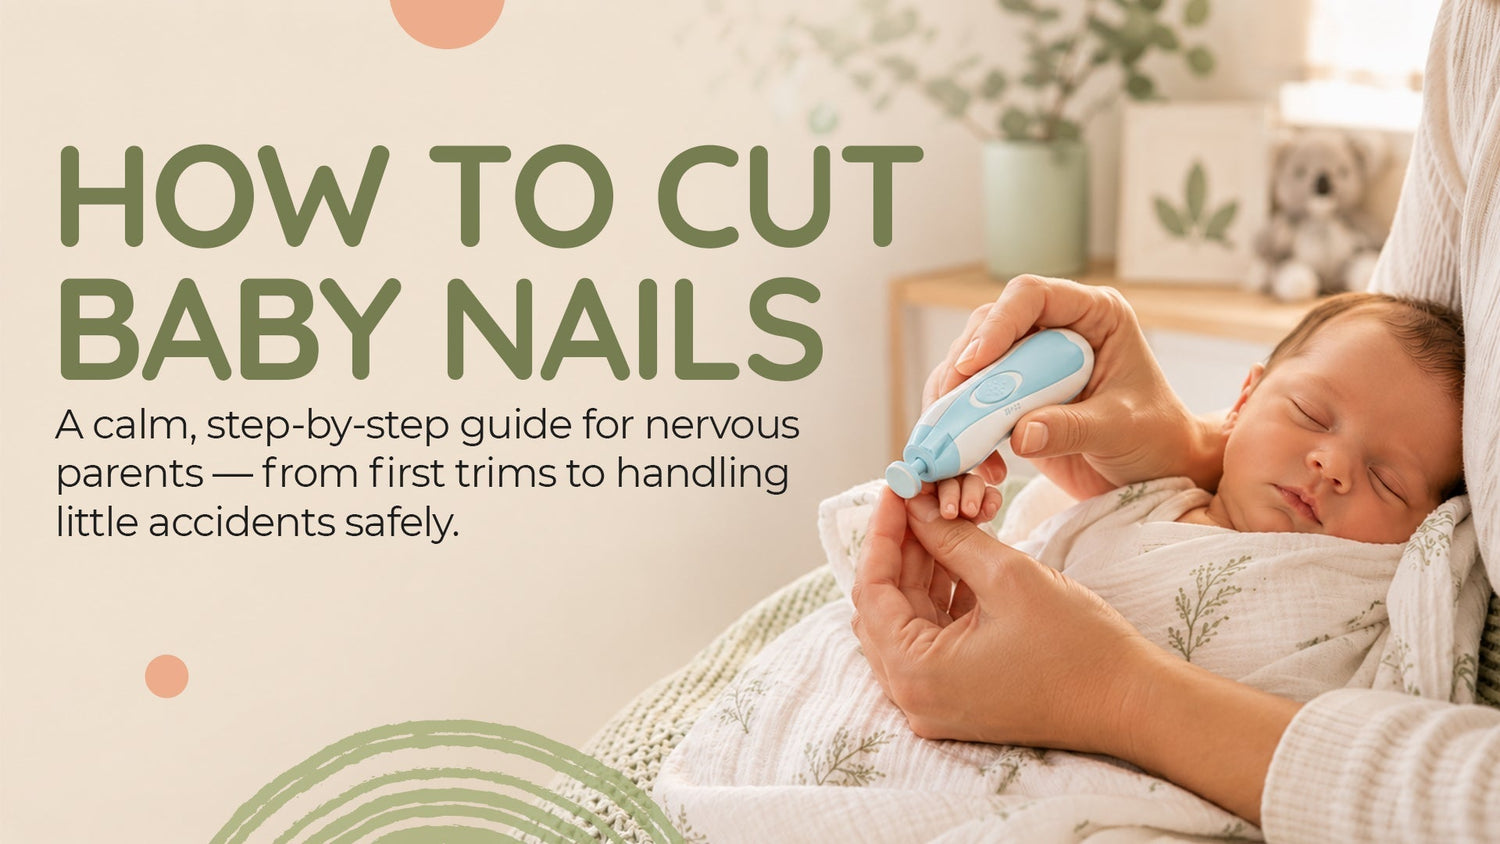
Being a new parent can be scary sometimes. Babies are small, fragile, and, for some inexplicable reason, they seem to grow the sharpest little talons. Who wouldn’t be at least a bit freaked out?
Trimming those tiny little things can be an especially difficult struggle for parents. Learning how to cut baby nails feels daunting. Those chubby, wriggly fingers seem so delicate, and it doesn’t help that the internet’s full of stories that make a simple nail trim feel like a high-stakes operation.
Most parents put off the first trim until their baby has already scratched themselves. It’s practically a rite of passage!
Luckily, the internet is (once again) full of exaggerations. Baby nail trimming doesn’t have to be a horrible ordeal, and is usually much easier than you’d expect. Good lighting, a calm environment, and the right tools go a long way.
In this guide, we'll cover it all step-by-step:
- when to start trimming
- the safest tools to use
- what to do
- advice for when you nick the skin
- how a modern electric baby nail trimmer compares to traditional clippers.
Whether you're preparing to cut newborn nails for the very first time or are simply after a calmer approach to baby nail care, you'll find everything you need here.
When to Start Cutting Baby's Nails
While feeding schedules, nappy care, and growth milestones have probably been drilled into you by bub’s GP or your child's health nurse, there are always more questions. One of the most common questions is when to cut a newborn baby’s nails for the first time.
Easy answer: that first week after birth, it’s usually best not to trim them at all.
You see, newborn nails are incredibly soft and often blend into the skin underneath. This can make it very difficult to see what you’re working with. Instead of trying in vain to see where exactly the nail ends and skin begins, simply round off any sharp edges you notice with a very soft emery board.
Around weeks two to four, you’ll probably notice that your baby’s nails are becoming firmer and easier to see. This is your cue to start trimming.
Don’t be surprised if you have to do this more often than expected. Those little newborn claws grow fast!
In the first few weeks, you may need to file or trim them every three to five days. Toenails grow much more slowly and often only need attention every two to four weeks.
It's also worth watching for a natural peeling process. During the newborn stage, the tips of some nails may begin to separate and peel away on their own. If this happens, you can often gently lift the loose portion with your finger rather than reaching for clippers.
And if you've waited longer than expected? Don't feel guilty. Most parents don't discover how fast baby nails grow until after the first accidental face scratch. You're far from the first parent to put off cutting newborn nails for the first time, and you certainly won’t be the last.
Tools You Can Use — Clippers, Scissors, File, or Electric Trimmer?

No two babies are the same. Some will happily sleep through a nail trim without ever stirring. Others will wriggle at the mere thought of breaking out the clippers. And the same goes for their parents. While some might feel comfortable using scissors from day one, others will try to avoid using anything sharp altogether.
All of these are okay. There isn't one "right" way to approach baby nail care. While many parents start by searching for the best baby nail clippers Australia has to offer, clippers are just one of several safe and effective options. Below are a few you can consider, plus some of their pros and cons:
Baby Nail Scissors
Baby nail scissors are just that: scissors specifically created to trim your baby’s nails. They’re designed with small, curved tips that prevent accidental cuts and make it easy to follow the nail shape. However, they are a little awkward to use. A steady hand is definitely required, and some parents might struggle with the curved blade design.
Baby Nail Clippers
If you've been researching baby nail clippers that Australian retailers commonly stock, you'll have seen plenty of small spring-loaded options. These are like your traditional nail trimmers, just smaller.
They’re quick, efficient, and easy to find just about anywhere. The design inherently limits visibility though, and can easily pinch the skin if the baby decides it’s time to dance around. Their sharpness can make some first-time parents anxious.
Emery Boards and Nail Files
The traditional file remains one of the safest tools available. As emery boards and files essentially sand down nails rather than cut them, there’s little worry about nicking baby’s skin. Affordability is a big plus, too.
Wiggly babies may lose patience long before you’re finished, however!
For cautious parents and patient newborns, they’re a great option. Though emery boards and files may struggle a bit as newborn nails become tougher and thicker with age.
Electric Baby Nail Trimmer
A modern alternative to spring-loaded options, electric options like our Baby Nail Trimmer use a soft rotating filing pad to gradually shorten your baby’s nails. This design makes it very difficult to cut your baby’s skin accidentally. It is quiet, gentle on soft, newborn nails and is even suitable from birth.
It is true that electric trimmers may cost a bit more than traditional options, and can be slower than clipping. Some babies might not like the vibration, either. Yet, many consider it an absolute essential despite the trade-offs.
In fact, most parents we’ve talked to who switched to an electric nail trimmer wish they’d done so sooner! The first-time-anxiety reduction alone is worth it.
What to Avoid
Baby nail trimming isn’t super complicated, but there are certainly a few wrongs to avoid. A few things best left off the baby grooming checklist include:
● Adult nail clippers, as they’re far too big and harsh
● Household or kitchen scissors (definitely not)
● Biting nails with your teeth (we’ve surprisingly heard of it — please don’t)
● Assuming sharper tools are safer
Smaller and gentler is almost always better when learning how to cut baby nails. If in doubt, err on the side of caution.

The Step-by-Step — How to Actually Do It
We know: this is the part you’re dreading. Wriggly, delicate babies and nail trimming don’t exactly sound like a match made in heaven. But the reality isn’t nearly as bad as the image you’ve built up in your head.
Want to make the process as stress-free as possible? Here are a few simple steps that should help. They’ll walk you through everything you need to feel prepared and teach you how to cut baby nails without it turning into an impromptu wrestling match.
1. Pick the Right Moment
For newborn nail care, timing matters just as much as technique. You’ll want to aim for when the baby is asleep, drowsy after a feed, or right after a bath, when their nails are the softest.
On the other side, do your best to avoid trimming when your baby’s hungry, tired, upset, or has just woken up.
2. Set Up Good Lighting
Good lighting is essential for good nail trimming. Bright, warm lighting makes it easier to see the white tip of the nail (where you trim) versus the pink nail bed (where you definitely don’t). It will also help you avoid as many accidental nicks.
3. Get Into a Comfortable Position
Cutting newborn nails for the first time will obviously make you a little anxious. Choosing a comfortable position will both calm your nerves and set you up for nail trimming success. We suggest sitting down on a soft chair with the baby cradled in your lap or have them lying on a changing mat with you standing.
If you have a partner, you'll have an ideal setup — have one hold while the other cuts their nails. Solo is totally okay, too, though! Simply swaddle the baby in a light blanket with one arm out at a time. This will keep bub from suddenly flailing about and make trimming a whole lot easier.
4. Press the Finger Pad Away
This is arguably the most important tip in our entire guide. Be sure to gently push the soft fingertip pad backwards and away from the nail before you do any trimming. Doing this creates a clearer cutting edge and significantly reduces the chance of catching skin.
5. Cut Along the Natural Curve
According to Raising Children Network, fingernail and toenail clipping requires slightly different approaches. For fingernails, you want to follow the natural curve of the finger. And don’t cut too deep — stay above the white tip line.
Using baby nail scissors or clippers? You might want to use several small cuts instead of one large cut, too, at least until you’re more practised. Two or three careful snips are usually safer than one ambitious one!
6. Cut Toenails Straight Across
Toenails, meanwhile, should not follow along the finger’s curve. Instead, cut straight across at the top. This will reduce the likelihood of ingrown nails.
7. Smooth the Edges
Once you’re done trimming, take a soft emery board over the freshly-cut edges. You want everything nice and smooth rather than sharp. It’s a small step, but the one that actually keeps sensitive baby faces scratch-free.
8. Repeat Using An Electric Baby Nail Trimmer (Alternative)
Tried one of the other tools on the list but couldn’t quite get the hang of it? Give an electric baby nail trimmer a go.
When using, securely support the finger, switch on the trimmer, and gently file the nail down. Be sure to move slowly — let the trimmer do the work. Most babies will even sleep right through it!
Top Tips That Make a Difference:
● Use two adults if possible — one to hold, and one to cut.
● Talk or sing softly while trimming — baby’s voice cue reduces movements.
● Don't feel pressured to do all ten nails at once. You can spread trimming across a few sessions if needed. We promise your baby won’t mind. Their nails don’t all need to be the same length.
● Trim during sleep whenever possible.
What to Do If You Nick the Skin
The process of learning to cut newborn nails is a marathon, not a sprint. You may not always get it perfect, and with that, potentially come accidents.
If you accidentally nick your baby’s skin while trimming please don’t panic. Almost every parent has this happen at least once.
When it does, it usually just results in a tiny cut. There might be some bleeding, too. But rest assured that this is rarely serious, even though it may look dramatic.
Dealing with this right now, or are trying to prepare ahead of time? Here are a few easy tips that can help:
● Gently apply pressure to the cut with a clean cloth, cotton ball, or tissue. Holding this for 1-2 minutes will typically be enough to stop the bleeding.
● Don’t use any plasters or band-aids. They’re not necessary for healing, plus they can become a choking hazard if your baby pulls them off and puts them in their mouth. And you know, babies will do this if given the chance!
● Avoid antiseptic products as these can sting the baby’s sensitive skin. Like plasters, they’re also just generally unnecessary for a small nail-trimming nick. If needed, gentle cleansing with soap and water is plenty.
● Keep an eye out for any spreading redness, swelling, pus, or fever. These signs are uncommon, but if they occur, arrange a visit with your GP.
Perhaps one of the most important things to do, however, is to forgive yourself. We know it genuinely feels like the end of the world (especially when you’re overwhelmed and sleep-deprived). But it’s truly okay. Your baby is just fine.
You haven't failed at baby nail care, and you certainly haven't failed your baby. Take a break, wait a few days if needed, and try again when you’re ready to give it another go.
You’ve got this.
Nail Problems Worth a Quick GP Visit
Most nicks or nail concerns are minor. A quick cleaning and some time are usually all the help you’ll need. However, there are a few cases where professional advice is warranted, such as:
Paronychia
Though its official name may sound frightening, paronychia is just irritation or infection around the nail bed. Redness, swelling, tenderness, and pus around the nail bed are all common signs of the issue.
Frequently occurring in babies who suck on their fingers, most cases are easily treatable with warm soaks. Please speak with your GP or maternal child health nurse if symptoms persist or worsen, though, as antibiotics are sometimes needed.
Ingrown Toenails
Ingrowns aren't super common for newborns, but they can still happen. Possible signs to look out for include redness along the nail edge, swelling, and pain. To keep your baby from experiencing this, avoid curving the nail when trimming.
White Spots or Nail Colour Changes
Nail colouring isn’t always even. Small, harmless white spots can sometimes pop up as a result of minor trauma. Even so, it’s always good to be on the lookout for any sudden change or spots that don’t go away. Should you notice anything or feel unsure about what’s normal, be sure to mention it during your next maternal-child health visit.
Thickened, Yellow, or Brittle Nails
Minor colour changes in one nail typically aren’t a big deal. Changes affecting multiple nails, though, almost always deserve a GP review. This is especially true for babies whose nails become unusually thick, brittle, or discoloured, as they can be signs of a fungal infection.
FAQ
When can I start cutting my newborn's nails?
We recommend regular trimming around two to four weeks of age when the nails become easier to see and separate from the skin. Before then, gentle filing is often the safest option.
How often should I cut my baby's nails?
How often to cut baby nails varies. Fingernails typically need attention every three to five days during the newborn period. Toenails usually only require a quick trim every two to four weeks.
What's the safest tool for cutting baby nails?
There isn't one perfect tool. Still, parents prefer files or an electric baby nail trimmer because they reduce the chance of accidentally cutting skin.
Are electric baby nail trimmers actually safe?
When used according to the manufacturer's instructions, an electric baby nail trimmer is extremely safe and gentle for newborn nail care. Since they file rather than cut, they can also feel less intimidating.
Can I cut my baby's nails while they're sleeping?
Absolutely. In fact, many parents find nap-time trimming to be the easiest approach because babies are less likely to wriggle around!
What if I cut my baby's finger?
Apply gentle pressure with a clean cloth for one to two minutes. Most small nicks stop bleeding quickly. Avoid band-aids and monitor for any signs of infection. If any of these signs do pop up or there’s bleeding that won’t stop, seek out medical help and follow all provided care instructions.
Should I file or cut newborn nails?
For very young newborns, filing is often easier because the nails are soft and difficult to distinguish from the skin underneath. As nails become firmer, trimming becomes easier.
Why do my baby's nails grow so fast?
Newborns are constantly growing, which means their nails are, too. Frequently needing trims or filing during the first few months is completely normal.
Are baby mittens a good alternative to cutting nails?
Mittens may temporarily reduce scratching, but they don't replace regular baby nail care. Eventually, bub’s nails will still need filing or trimming!
My baby hates having their nails cut — what do I do?
Try changing up your timing. Many parents have the most success doing nail care after a feed, after a bath, or during sleep. You can also trim just one or two nails at a time rather than attempting all ten. Luckily, babies don’t need all fingernails the same length!
Getting Better at Baby Care
We know that the first nail trim can be scary or feel difficult. It really can be. But rest assured: it does get easier.
Like most parenting skills, learning how to cut baby nails just comes with time and practice. Within a few weeks, many parents find themselves trimming bub’s nails without giving it much thought at all. They get there, and you will get there, too.
But if traditional clippers still feel a little intimidating down the line? Our Baby Nail Trimmer offers a gentle, modern alternative that many parents find easier to use. Combined with good lighting, patience, and the right timing, it can take at least some of the struggle out of baby nail trimming.

Leave a comment
This site is protected by hCaptcha and the hCaptcha Privacy Policy and Terms of Service apply.